Friday, October 24, 2014

Faux Ceramics technique

Hi everyone, I thought I would share this card and this very easy technique with you today. 
I just love the look of shiny ceramics, so I decided to turn my paper moulds into them, well they look very much like ceramic pieces but without the weight!


Look how shiny they are!!


I used Fimo light air modelling clay, you can use any air dry paper clay you have in your stash. The silicone moulds I used are from Martha Stewart, they are just gorgeous, this set has a quilted heart and a larger flower in it as well. I also used Copic markers to colour them.


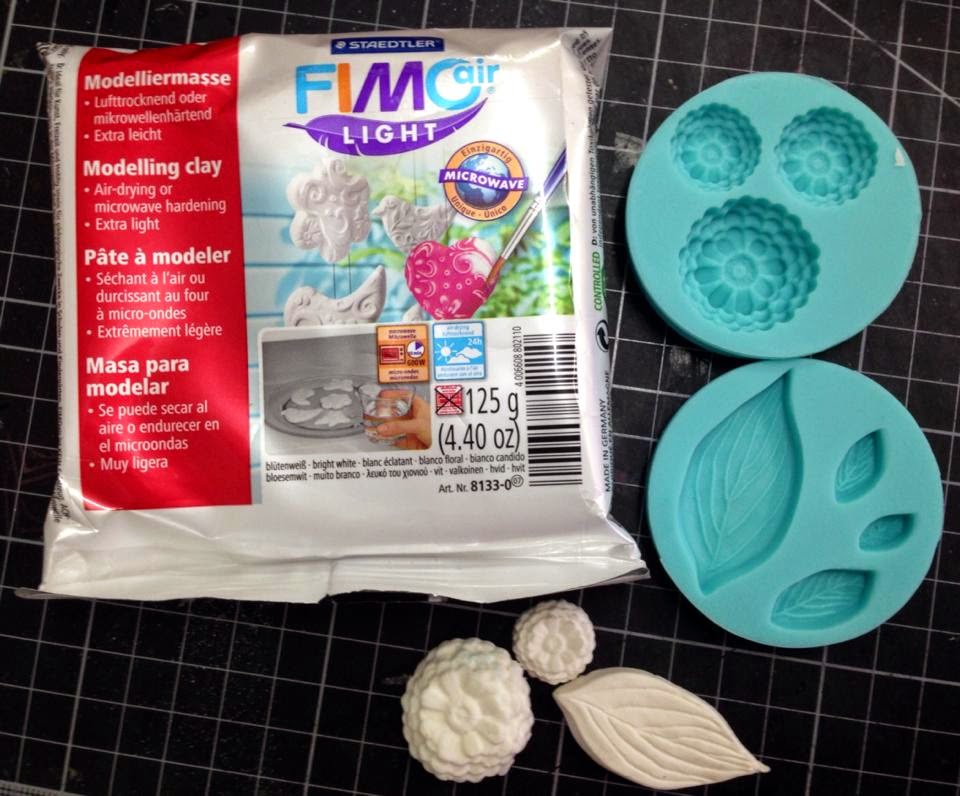
Step 1. First I pressed the paper clay into the mould and let them dry completely.


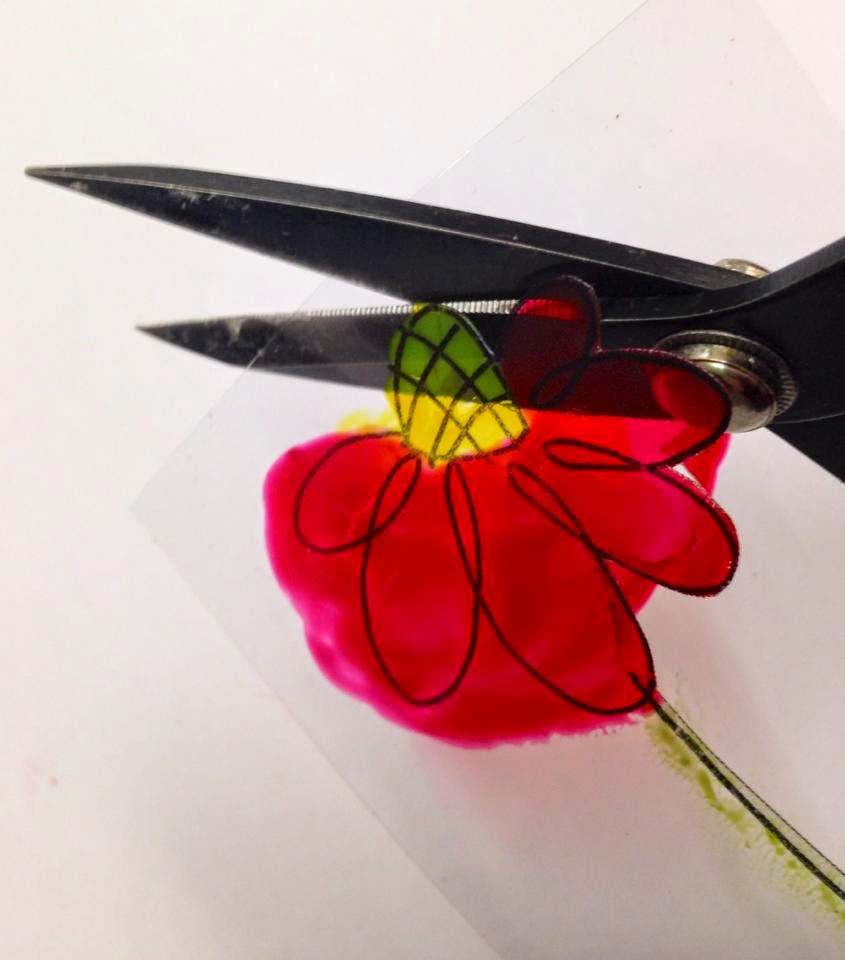
Step 2. Once they're dry colour them with your Copic markers, please be aware that this step may damage your markers as they may be contaminated by the paper clay, just keep checking them. I have a set of markers set aside that I use for rough stuff and also have replacements nibs on hand.


Step 3. Shade them as normally, they will still blend together nicely, if you don't like the colour just colour straight over the top again or bleed the colour out with the blender.


Step 4. Once you're happy with the shading you can coat the piece with a few layers of gloss varnish, let each application dry completely before doing another. 
You can use Glossy accents if you like for this step. 

These faux ceramic pieces are easy to attach to your cards, just glue them on, plus they won't weigh your card down and make it fall over!!

Off you go, create some today :-)

Happy creating, Jane

Saturday, October 18, 2014

My Favorite Things Lightbulb die-cut card


Hi Everyone,
Just a quick share - I made this card for my husbands birthday, I used the My Favorite Things LLD Lightbulb die-namics dies and My Favorite Things LLD What's up! stamp set.

Happy creating!
Jane

Pop up box card


Hi everyone, 
I recently made a pop up box card for a friend who wasn't well. I used Fancy Pants Designs Park Bench collection of papers. you can find the instructions on Split Coast Stampers, I had lots of fun creating this one and will be making many more. Have a go!!

Happy creating!
Jane

Friday, October 17, 2014

Imagine Crafts irRESISTable Pico Embellishers


Hi there, today I'm sharing a card I created using Imagine Crafts irRESISTable Pico Embellishers, I love working with these inks, they're vibrant, translucent and add great dimension to your cards. They have a fine nozzle which is great for writing or colouring small areas, it has an inbuilt anti-clog system and they can be mixed with water! 


            1. Stamp your image on acetate using StazOn jet black ink. 


2. Apply an amount of irRESISTible Pico Embellisher Love Letter to the reversed side of your stamped image and spread it out using your finger tip.


3. Let the first coat dry then add more ink and repeat for deeper colour and to fill in any patchy/uncovered areas.


4. The Pico Embellishers have a fine tip applicator that's perfect for filling in small areas. Cover the whole top bud section 
with the Dandelion ink, if you have any bubbles just pop them 
with the nozzle or a pin.


5. Dab down the stem with the Bamboo Leaves ink and let dry.


6. One your ink has dried cut around it leave a small border around the image.


7. I glue the image to my card using small glut dots and ran a sticker strip along the bottom to keep them in place. The blue background is using the Pico Embellisher Summer Sky with water and directly washed it over the card. The clear dots is the Shimmer, the inks will dry with dimension giving added texture to you card. I just loved working with these!!! I hope these steps will give you some ideas and get your creative juicies flowing! 

MATERIALS USED
  • Imagine Crafts irRESISTable Pico Embellishers - shimmer, summer sky, love letter, bamboo leaves, dandelion
  • Stamp set: Stampendous Loopy Blooms
  • Ink pad: StazOn jet black
  • Card: Bazzill white
  • Acetate
  • Green border sticker
  • Adhesives: glue dots


Cheers and happy stamping!
Jane


Friday, September 19, 2014

Sharing some videos!


Hi everyone,

I thought I would share some videos I did for my job at 'Australian Cardmaking, Stamping & Papercraft' magazine, they are very basic ones but you never know it may be something you haven't seen before or need refreshing on? After all my years of teaching and speaking before a large crowd I still get nervous and forget my lines LOL, anyway I hope you enjoy!


Cheers and happy creating!
Jane

Head on over to my new blog page!

Hi everyone, Thanks for following my journey on this domain but I now have a new blog site, so please follow the link below for another...